Rare Candy is one of Pokémon GO's most flexible resources — convertible into any species' candy on demand — but the supply is limited. The right way to think about Rare Candy isn't "who's strongest?" but "where does each candy save me the most walking time, raid effort, or weather waiting?". This guide explains how to decide whether a Pokémon is worth your Rare Candy, then gives 18 practical examples grouped by priority — from must-build Tier 1 down to niche Tier 5 — along with the four spend / save rules that make Rare Candy go further.
→ See the latest interactive Rare Candy Ranking
Sort by Gym / Raid / Rocket / Max Battle / PvP — filter Legendaries / Shadow / Mega.
How This Ranking Was Calculated
- Candy scarcity: Pokémon that can only be obtained from raids (= no walking buddy yield, no Wild Area drops) score higher. Their candy bottleneck is real.
- Multi-role payoff: A pick that contributes to raid attack, Master League, and Max Battle simultaneously beats a single-role attacker.
- Form / Weather upside: Pokémon with a Mega, Primal, or Origin form get a multiplier — one candy investment unlocks two roles.
- Stardust efficiency: The L40 → L50 stretch costs roughly 4× the dust of L30 → L40. Save Rare Candy for Pokémon you intend to push past L40.
Last updated: 2026-04-29. Data source: based on values recalculated on this site from the live Pokémon GO game master — Doctor Pokegogo's own DPS / eDPS / tier metrics (last re-computed on 2026-04-28). For an always-current data view, see the interactive Rare Candy Ranking — same data, with sortable filters across all five use cases.
Tier 1 — Max Battle Aces
The two picks that anchor every Max Battle counter team and continue to perform across raids and Master League. If you only ever Rare-Candy two Pokémon, make it these.
.png)
Zacian (Crowned Sword)
![]()
![]() Top Steel attacker, Master League ace, Max Battle MVP. Behemoth Blade is locked behind a 1-bar Charged Move so the 2nd-move slot still costs Stardust — Rare Candy keeps you above the 100k dust cliff.
Top Steel attacker, Master League ace, Max Battle MVP. Behemoth Blade is locked behind a 1-bar Charged Move so the 2nd-move slot still costs Stardust — Rare Candy keeps you above the 100k dust cliff.
.png)
Zamazenta (Crowned Shield)
![]()
![]() Matches Zacian's Steel-type damage and adds the Wall move (free shield at Max Battle start), making it the best dedicated Max Battle Tank.
Matches Zacian's Steel-type damage and adds the Wall move (free shield at Max Battle start), making it the best dedicated Max Battle Tank.
Tier 2 — Battle Best + Form / Weather Effect
Strong attackers in their base form, plus a Mega / Primal / Origin / Form change that doubles the value of every candy you sink in.
.png)
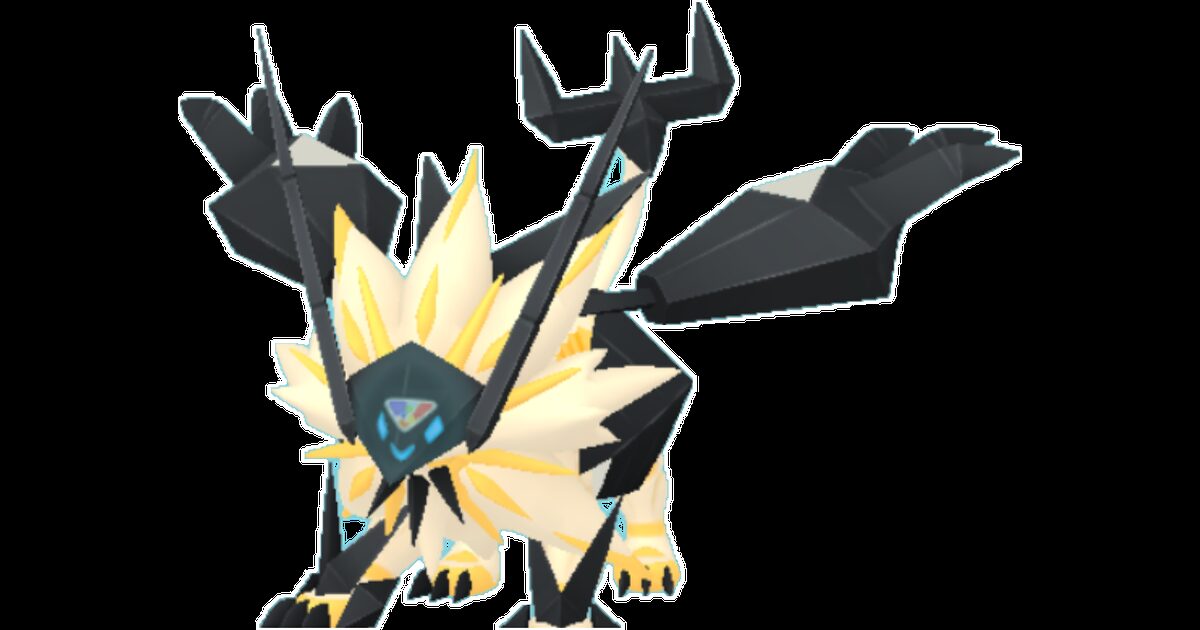
Necrozma (Dawn Wings & Dusk Mane)
![]()
![]()
![]() One Necrozma + Lunala or Solgaleo unlocks two roles: Dawn Wings = top non-Mega Ghost, Dusk Mane = top non-Shadow Steel.
One Necrozma + Lunala or Solgaleo unlocks two roles: Dawn Wings = top non-Mega Ghost, Dusk Mane = top non-Shadow Steel.
.png)
Kyurem (White / Black)
![]()
![]() White Kyurem (Cold Flare) is the strongest Ice attacker in the game; Black Kyurem (Freeze Shock) covers Electric. Reshiram / Zekrom fusion candy is the gating cost.
White Kyurem (Cold Flare) is the strongest Ice attacker in the game; Black Kyurem (Freeze Shock) covers Electric. Reshiram / Zekrom fusion candy is the gating cost.
.png)
Dialga (Origin Forme)
![]()
![]() Top non-Mega Dragon attacker with Origin Forme bonus. Excellent Master League pick that doubles as a raid attacker.
Top non-Mega Dragon attacker with Origin Forme bonus. Excellent Master League pick that doubles as a raid attacker.
.png)
Palkia (Origin Forme)
![]()
![]() Origin Forme adds a top-tier Water attacker option on top of solid Dragon damage. Useful for both Water-weak and Dragon-weak boss windows.
Origin Forme adds a top-tier Water attacker option on top of solid Dragon damage. Useful for both Water-weak and Dragon-weak boss windows.
Tier 3 — Especially Recommended (Type Specialists)
Each is the #1 attacker for its primary type, with a Mega or Primal upside that magnifies the candy investment.

Groudon → Primal Groudon
![]() Best Ground attacker non-Mega; Primal Reversion brings best Ground damage in the game + Sunny weather buff for Fire/Grass/Ground.
Best Ground attacker non-Mega; Primal Reversion brings best Ground damage in the game + Sunny weather buff for Fire/Grass/Ground.
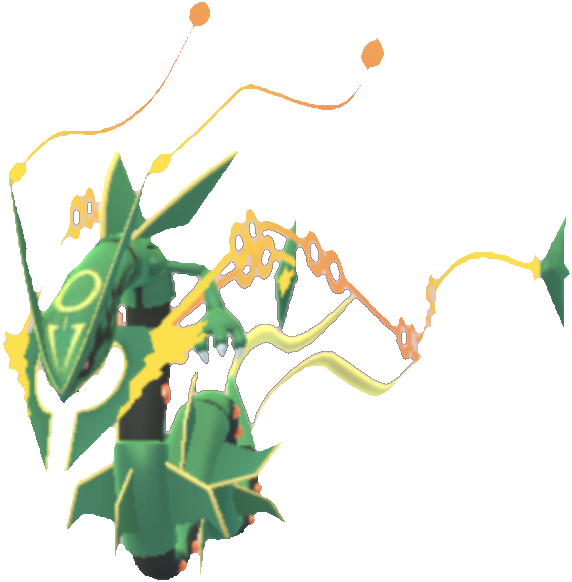
Rayquaza → Mega Rayquaza
![]()
![]() Mega Rayquaza is the highest single-attacker DPS in the game (Dragon / Flying / Psychic 3-type Mega aura).
Mega Rayquaza is the highest single-attacker DPS in the game (Dragon / Flying / Psychic 3-type Mega aura).

Kyogre → Primal Kyogre
![]() Best Water attacker non-Mega; Primal Reversion adds Rainy weather buff for Water/Electric/Bug. Pairs with Groudon for full weather coverage.
Best Water attacker non-Mega; Primal Reversion adds Rainy weather buff for Water/Electric/Bug. Pairs with Groudon for full weather coverage.

Mewtwo (Mega X & Y)
![]() Three Pokémon in one: base, Mega X (Fighting), Mega Y (Psychic). Mega Y is the highest Psychic DPS in the game.
Three Pokémon in one: base, Mega X (Fighting), Mega Y (Psychic). Mega Y is the highest Psychic DPS in the game.
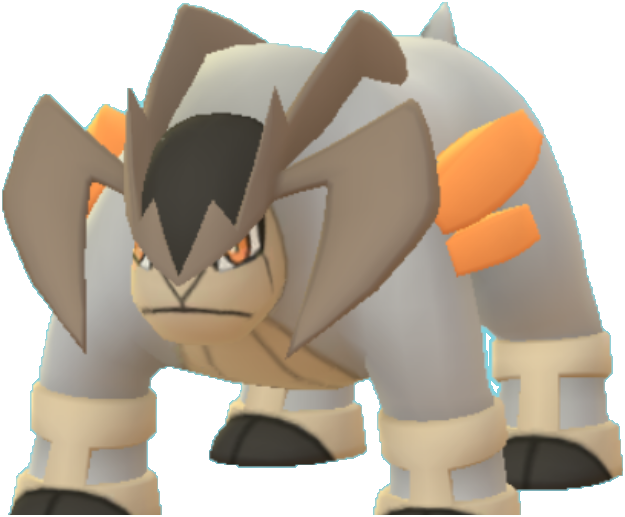
Terrakion
![]()
![]() Top non-Mega Fighting attacker, doubling as a strong Rock attacker. Sacred Sword has high uptime.
Top non-Mega Fighting attacker, doubling as a strong Rock attacker. Sacred Sword has high uptime.
Tier 4 — Recommended (Solid Picks)
Type-specific top picks without a Mega/Primal/Origin upside, but each remains the best non-Mega for its type and is candy-scarce.
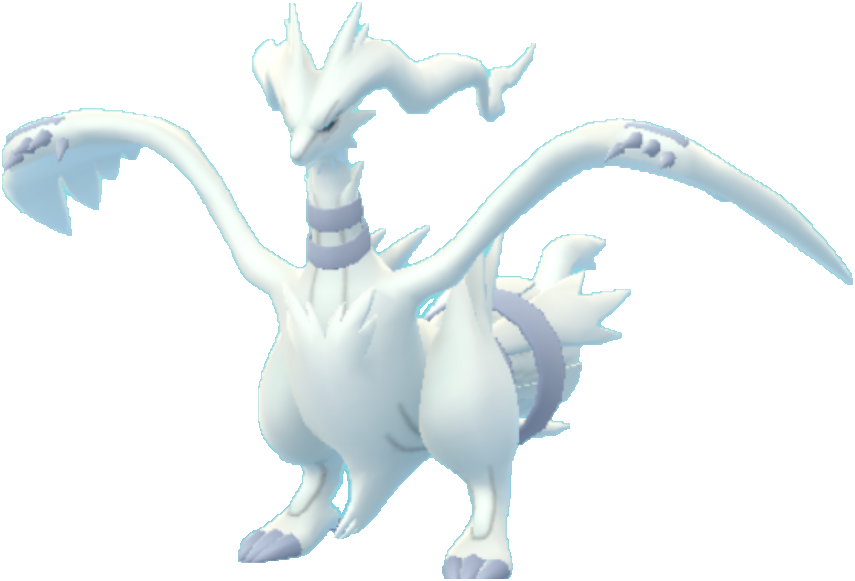
Reshiram
![]()
![]() Top non-Mega Fire with Fusion Flare exclusive. Doubles as a Dragon backup. Save extra for the White Kyurem fusion.
Top non-Mega Fire with Fusion Flare exclusive. Doubles as a Dragon backup. Save extra for the White Kyurem fusion.

Kartana
![]()
![]() Best non-Mega Grass attacker. Ultra Beast = high candy curve + raid-only.
Best non-Mega Grass attacker. Ultra Beast = high candy curve + raid-only.

Xurkitree
![]() Highest pure Electric DPS. Thunder Shock + Discharge doesn't need an Elite TM, so the build cost is essentially zero after candy.
Highest pure Electric DPS. Thunder Shock + Discharge doesn't need an Elite TM, so the build cost is essentially zero after candy.

Darkrai
![]() Top non-Mega Dark attacker with Shadow Ball alt. Useful in Halloween rotations and against Psychic / Ghost bosses.
Top non-Mega Dark attacker with Shadow Ball alt. Useful in Halloween rotations and against Psychic / Ghost bosses.

Xerneas
![]() Top non-Mega Fairy. Geomancy gives unique role flexibility, useful for Dragon and Dark boss windows.
Top non-Mega Fairy. Geomancy gives unique role flexibility, useful for Dragon and Dark boss windows.
Tier 5 — Slightly Recommended (Niche)
Useful for type-completionists or specific boss windows, but pool is shallow and other priorities should come first.

Nihilego
![]()
![]() Best non-Mega Poison attacker. Pool is shallow so even a small candy investment goes a long way against Fairy bosses.
Best non-Mega Poison attacker. Pool is shallow so even a small candy investment goes a long way against Fairy bosses.

Pheromosa
![]()
![]() Highest Bug DPS but glassy. Useful in Bug-vulnerable boss windows where short bursts work.
Highest Bug DPS but glassy. Useful in Bug-vulnerable boss windows where short bursts work.
How to Use Rare Candy Effectively
Pouring 100 Rare Candy into one Pokémon you'll never power up doesn't help anyone. The four rules below get the most out of every candy.
Rule 1: Stop at PL30 (5,000 Stardust per power-up) by default
The Stardust cost ramps up sharply after PL30. For most raid roles, PL30 with high IVs is enough. Push past PL30 only when the Pokémon is on this list and you'll actively use it in raids or Master League.
Rule 2: Push to PL40 (10,000 Stardust) only for Tier 1 and Tier 2 picks
L40 is the sweet spot for raids and Master League. Going beyond that requires XL Candy (a separate scarce resource), so reserve PL40+ pushes for Pokémon you genuinely use weekly.
Rule 3: XL Candy is for L40 → L50
Rare Candy converts to regular candy, not XL. For the L40 → L50 stretch, you need either walking buddy XL drops or Lucky Trades. Use Rare Candy to backfill the regular-candy gap so you don't run out before the XL grind ends.
Rule 4: Unlock the second Charged Move only when needed
Master League Pokémon (Zacian, Mewtwo, Dialga, Palkia) benefit most from a second Charged Move. Pure raid attackers (Kartana, Xurkitree, Reshiram) typically don't — save the dust.
At-a-Glance Comparison (All 18 Picks)
| Tier | Pokémon | Type | Candy bottleneck | |
|---|---|---|---|---|
| 1 | |
Zacian (Crowned Sword) | Raid-only | |
| 1 | |
Zamazenta (Crowned Shield) | Raid-only | |
| 2 | |
Necrozma (Dawn Wings / Dusk Mane) | Raid + fusion | |
| 2 | |
Kyurem (White / Black) | Raid + fusion | |
| 2 | |
Dialga (Origin Forme) | Raid-only | |
| 2 | |
Palkia (Origin Forme) | Raid-only | |
| 3 | |
Groudon (Primal) | Raid-only | |
| 3 |  |
Rayquaza (Mega) | Raid-only | |
| 3 | |
Kyogre (Primal) | Raid-only | |
| 3 | |
Mewtwo (Mega X / Y) | Raid-only | |
| 3 | |
Terrakion | Raid-only | |
| 4 | |
Reshiram | Raid-only | |
| 4 | |
Kartana | UB raid-only | |
| 4 | |
Xurkitree | UB raid-only | |
| 4 | |
Darkrai | Raid-only | |
| 4 | |
Xerneas | Raid-only | |
| 5 | |
Nihilego | UB raid-only | |
| 5 | |
Pheromosa | UB raid-only | |
→ View the latest Rare Candy Ranking
Related Resources
- Rare Candy Ranking — Interactive 5-Mode Tier List — sortable / filterable companion to this article, updated on every game master change.
- All Pokémon Ratings — full per-species role grades.
- Type Ranking — DPS / eDPS by type, the data set behind these picks.
- Best Pokémon for Lucky Trade — Top 10 Legendaries — companion guide for Stardust optimization.
- Best Max Battle Attackers by Type — Dynamax-side picks for the same type roles.
About the Author
Doctor Pokegogo (about page) has been publishing data-driven Pokémon GO analyses since 2020. Tier assignments and Stardust thresholds on this page are derived from the same data set used in the Type Ranking page; methodology details are linked there.